
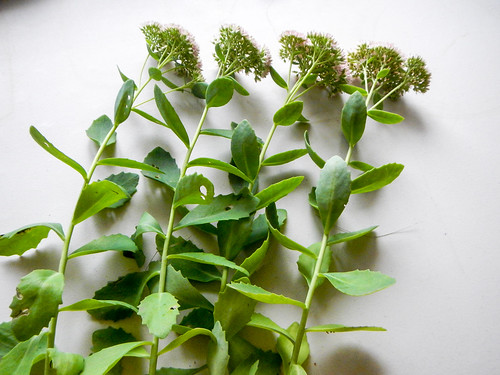
My Autumn Fire sedums bloom a gorgeous rosy-pink in late summer, and I wanted more of them. The bees love them, and so do I. The original plant was about $10. I was tempted to visit the garden store to buy more, but decided to do a little research first.
Thanks to Teresa’s blog, I learned how to propagate sedum perennials. You can read her original post here. She describes four different ways of propagation: water immersion, controlled pot growth, direct placement, and division. I am going to experiment with water immersion and controlled pot growth.
Step one for both methods is to get a couple cuttings. I picked some younger shoots on the edge that were about 12 inches tall. I cut the flowers off and saved them in a bowl of water. As my test, I am going to try four starts for each method to see which works best for me.
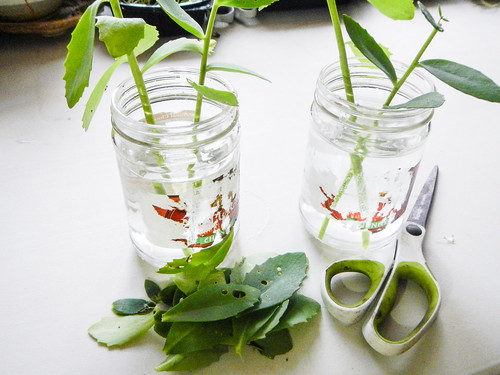
For the water immersion method:
- I cut the initial 12 inch stems into two six inch stems.
- Cut the leaves from the bottom of the stem, so no leaves would be touching the water.
- Put the stems in water and in a sunny window.
- Water until roots form.
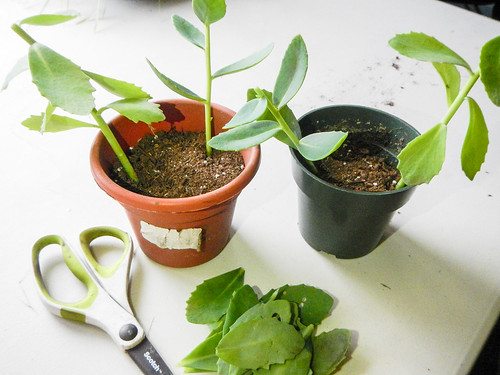
For the controlled pot growth method:
- I cut the initial 12 inch stems into two six inch stems.
- Cut the leaves from the bottom of the stems, so no leaves would be touching the dirt.
- Put the stems in some damp potting soil in a sunny window.
- Water until roots form.
I expect both methods will root in one to three weeks. Stay tuned for future updates!

Thank you for the nod to my blog: Teresa's Garden Song: http://chicagomastergardner.blogspot.com/
ReplyDeleteI'm glad that some of the methods work for you. I was just thinking that it's not too late for me to get out that and get some cuttings to prop over the winter :)
Have a great day!